
How to export image from video?
- Introduction
- Step 1: Download and install Soft4Boost Video Converter
- Step 2: Run Soft4Boost Video Converter and select your input video file
- Step 3: Start the edit mode
- Step 4: Saving a single frame
- Step 5: Saving multiple frames: open the Export Images window
- Step 6: Saving multiple frames: set the export parameters
- Step 7: Saving multiple frames: export images
Sometimes you might need to save some frames from your video as image files. It is possible to use them as screenshots for the preview of your personal video presented on the web, for example. Soft4Boost Video Converter allows you to extract a single frame or save frames in batch at a time interval or at previously chosen chapters in a few clicks.
Step 1: Download and install Soft4Boost Video Converter
Click here to download it. After the download is finished, run the S4BVideoConverter.exe file and follow the installation wizard instructions.
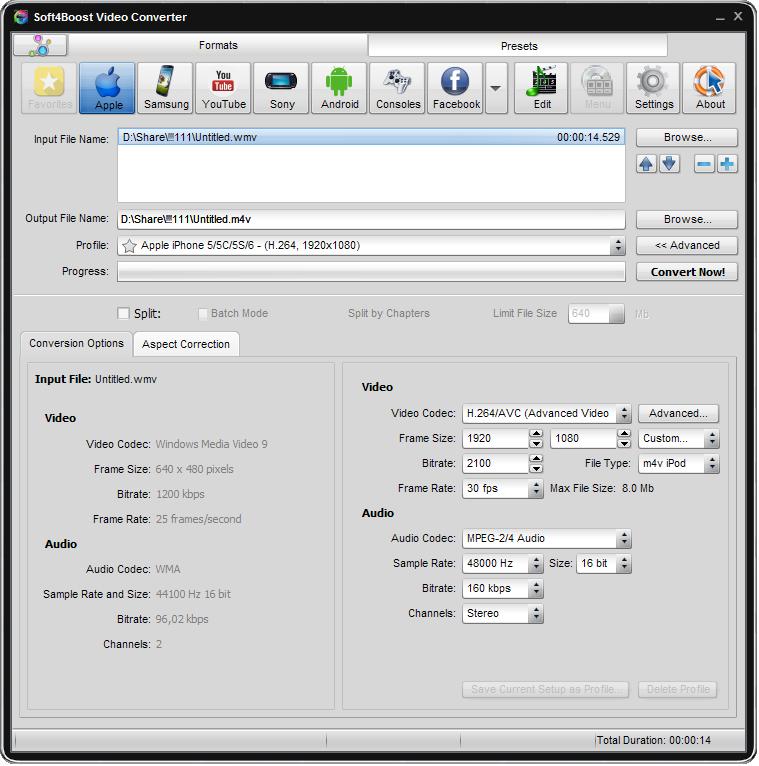
Step 2: Run Soft4Boost Video Converter and select your input video file
First of all run Soft4Boost Video Converter. To do that find the corresponding program icon on your desktop and double-click it. If you unchecked the Create desktop icon box during the installation, you can run the program from the Start menu. Please follow Start > All Programs > Soft4Boost > Video Converter.
To select a video you would like to convert hit the Browse... button next to the Input File Name field. In the opened Windows Explorer window browse for the necessary video file.
Note: when your input is a DVD disc, you will need to select the path to your source file: X:\Video_TS\Video_TS.IFO. "X" stands for your DVD-ROM or the hard disk drive folder where your DVD is stored. Please see the online help section to find more on how to convert your home DVDs to other video formats.
Click the Edit button on the Main Toolbar to open the Edit Input File(s) window.
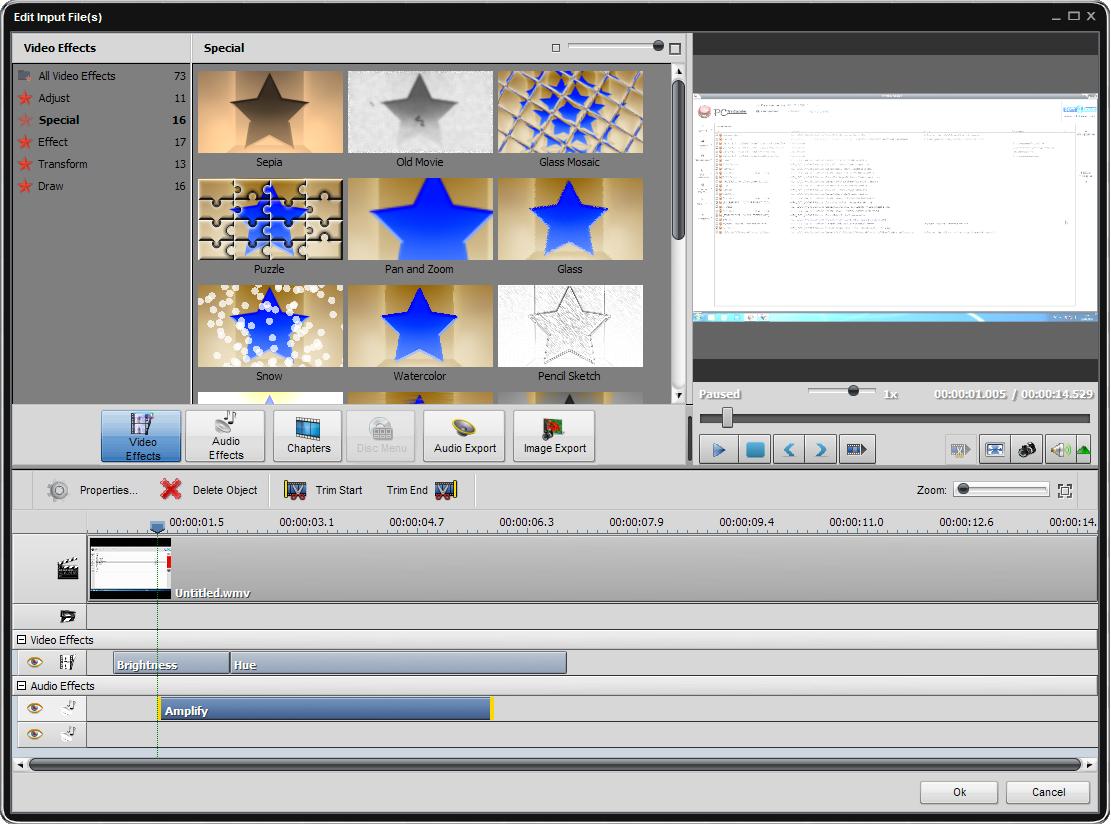
To save a single frame at the current cursor position use the Snapshot button located in the Preview Area. The Save Snapshot window will be opened. Select a folder for saving the chosen frame in it, a file name and one of the available image formats (BMP, WMF, EMF JPEG, GIF, PNG or TIFF), then press the Save button.
Step 5: Saving multiple frames: open the Export Images window
Press the Image Export central button in the Edit Input File(s) window. The Export Images window will be opened allowing you to adjust the parameters of frames you want to extract.
Step 6: Saving multiple frames: set the export parameters
In the Settings section select the mode for exporting images. You can choose between the following three options:
- Save each N second – check this option if you need to export images at a specified time interval. Input the needed time value measured in seconds in the appropriate field using the keyboard or arrows.
- Save at chapters – if you do not have any previously created chapters, this option will be disabled. Use it if you need to export some particular frames.
To set chapters click the Chapters central button. Move the timeline cursor to select the desired moments looking at the Preview Area and then press the Add Chapter button. The created chapters will indicate the frames you want to extract.
Note: when the Chapters button is pressed, the Image Export button is disabled. To enable it after setting chapters, press the Video Effects central button.
- Save all frames - check this option if you need to export every frame from your video file.
Note: if you have a large video file, it may take a lot of free space on your hard drive to save all the frames depending on the selected output image format.
In the Output section of the Export Images window you can:
- define the resulting image name in the Name field.
- assign a folder where you want your exported images to be saved. Choose one of the predetermined folders or select the Browse option to assign your own folder on your computer HDD.
- select the desired format for saving images from the Format drop-down list. The available formats are BMP, WMF, EMF JPEG, GIF, PNG and TIFF.
Step 7: Saving multiple frames: export images
After you have adjusted all the parameters, click the Save button to start exporting. You will see the overall progress on the progress bar in the lower part of the Export Images window. When saving is over, the Information window will appear allowing you to open the destination folder. Now you can view your exported image files and use them in your subsequent work.