
How to convert images?
- Introduction
- Step 1: Download and install Soft4Boost Image Converter
- Step 2: Run Soft4Boost Image Converter and load your input image files
- Step 3: Select the image output format
- Step 4: Resize your images and apply effects to them (optional)
- Step 5: Set output image parameters
- Step 6: Convert your images
If you are working with multiple images and looking for a tool to quickly convert them all into one format, a standard JPEG one, for example, Soft4Boost Image Converter is what you need. Just follow the easy steps below to create images of a necessary size and format.
Step 1: Download and install Soft4Boost Image Converter
Click here to download it. After the download is finished, run the S4BImageConverter.exe file and follow the installation wizard instructions.
Step 2: Run Soft4Boost Image Converter and load your input image files
First of all run Soft4Boost Image Converter. To do that find the corresponding program icon on your desktop and double-click it. If you unchecked the Create desktop icon box during the installation, you can run the program from the Start menu. Please follow Start > All Programs > Soft4Boost > Image Converter.
To load image files you would like to convert click the Add button on the Toolbar. You will be able to load a series of images stored on your computer HDD.
To load a folder with images stored on your computer HDD click the black arrow next to the Add button and select the Add Folder option.
In the opened Windows Explorer window select the necessary image files or the folder with images and click the Open button to load them to the program.
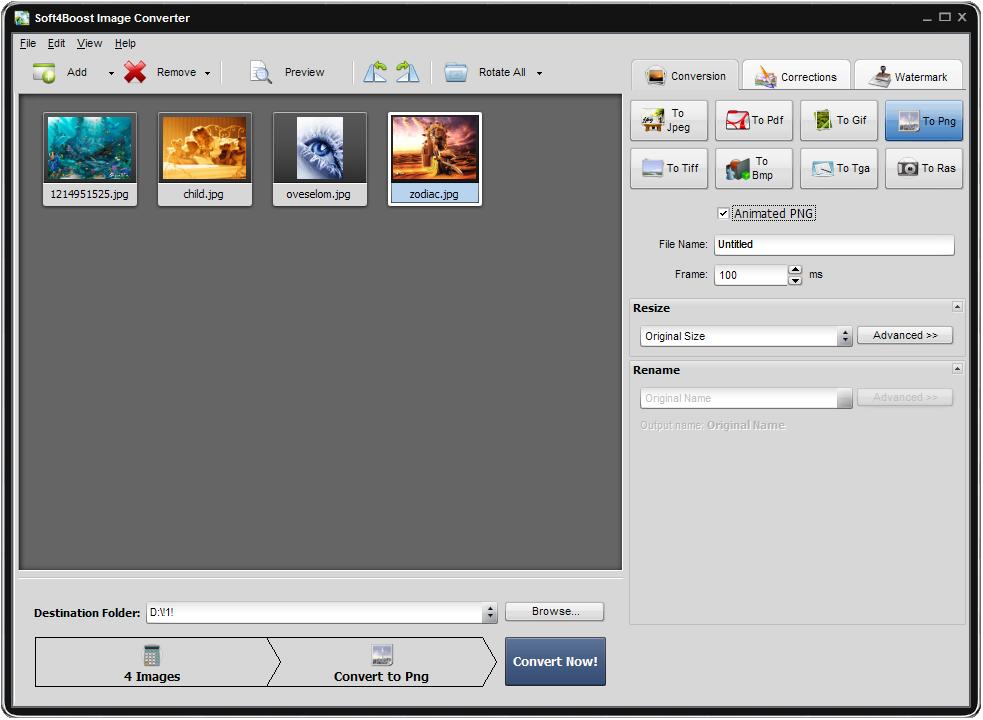
Step 3: Select the image output format
To set the image output format click one of the following format buttons on the Conversion tab.
- To Jpeg to convert your images into the Joint Photographic Expert Group format with the .jpg file extension;
- To Pdf to convert your images into the Portable Document Format with the .pdf file extension;
- To Gif to convert your images into the Graphics Interchange Format with the .gif file extension;
- To Png to convert your images into the Portable Network Graphics format with the .png file extension;
- To Tiff to convert your images into the Tagged Image File Format with the .tif file extension;
- To Bmp to convert your images into the Windows Bitmap format with the .bmp file extension;
- To Tga to convert your images into the Targa Image File format with the .tga file extension;
- To Ras to convert your images into the SUN Raster Format with the .ras file extension.
Note: for the Jpeg format you can also set the image quality value. For the Tiff format you can select the image compression type. For the Pdf format you can select one of the available page formats. For the Gif and Png formats it is possible to create animated images with the specified duration of each image.
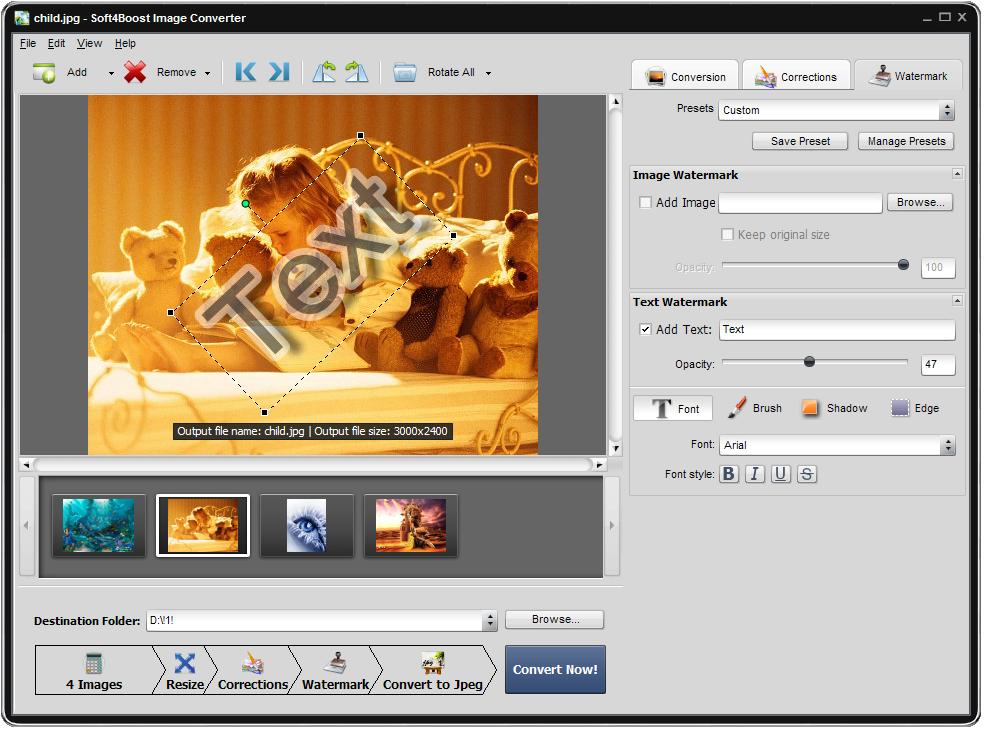
Step 4: Resize your images and apply effects to them (optional)
You can also resize your images before converting them. To do that select one of the available presets in the Resize section of the Conversion tab or create a new preset clicking the Advanced >> button.
Apply the necessary effects to your images before converting them. To do that view the instructions here.
Step 5: Set output image parameters
To set up a destination folder for the output images click the Browse... button next to the Destination Folder field and select a folder on your HDD or create a new one.
Click the Convert Now! button to start the conversion process. When the conversion is over open the folder containing new images of the desired format and use them according to your needs.