
How to convert home DVD episodes into separate files?
- Introduction
- Step 1: Download and install Soft4Boost Video Converter
- Step 2: Run Soft4Boost Video Converter and add your DVD
- Step 3: Assign an output format
- Step 4: Set up a proper video output file path
- Step 5: Define fragments
- Step 6: Start conversion
It often happens so that you are interested just in several scenes, episodes or fragments that your home DVD contains. You can easily save a desired part into the separate file of a specified format using Soft4Boost Video Converter. The guide will help you to readily do that without wasting time in finding out all the details by yourself.
Step 1: Download and install Soft4Boost Video Converter
Click here to download it. After the download is finished, run the S4BVideoConverter.exe file and follow the installation wizard instructions.
Step 2: Run Soft4Boost Video Converter and add your DVD
First of all run Soft4Boost Video Converter. To do that find the corresponding program icon on your desktop and double-click it. If you unchecked the Create desktop icon box during the installation, you can run the program from the Start menu. Please follow Start > All Programs > Soft4Boost > Video Converter.
To select a video you would like to convert hit the Browse... button next to the Input File Name field. In the opened Windows Explorer window browse for the necessary video file.
Note: when your input is a DVD disc, you will need to select the path to your source file: X:\Video_TS\Video_TS.IFO. "X" stands for your DVD-ROM or the hard disk drive folder where your DVD is stored. Please see the online help section to find more on how to convert your home DVDs to other video formats.
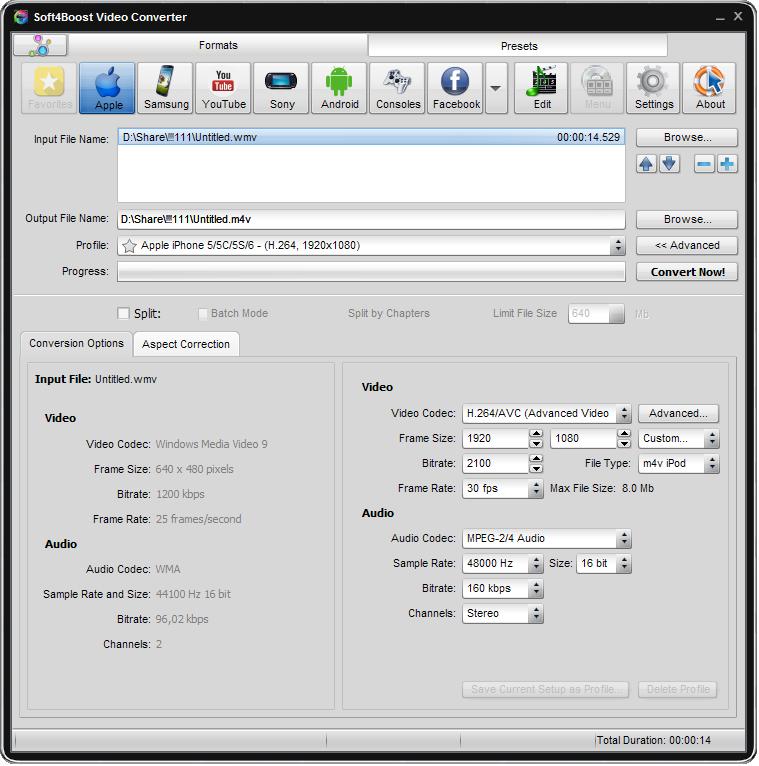
Step 3: Assign an output format
On the Formats tab of the Main Toolbar click the button corresponding to the desired output format (click the More Formats button to open the More Formats Toolbar, if needed).
Note: don't assign DVD or Blu-Ray as your output format because they don't allow to split a video.
Step 4: Set up a proper video output file path
Click the Browse... button next to the Output File Name field and select a location on your HDD for the output video file.
Note: when you select a location for your output video file, you should save the file to your personal computer HDD.
Click the Edit button to open the Edit input file(s) window. Press the Chapters central button.
Move the slider along the Timeline, holding the left mouse button, watch the Preview screen and click the Add Chapter button on the Timeline Toolbar specifying the fragment borders in the slider position. If all the fragments are defined, click OK.
Click the Advanced >> button. Check the Split control and switch the radio button to the Split by Chapters value then click the Convert Now! button to start creation of separate episode files.
Note: if you selected FLV as the output format, make sure the Create Flash player and HTML page for web sharing box is unchecked on the Flash Player tab, otherwise the Split option will be disabled.
Wait until the process is completed, the fragment files can be found in the destination folder.
Note: each fragment will be saved as a filename_N.formatextension file where filename is the output name you assigned; N - the number of a fragment; formatextension - the extenison of the chosen output format.