
How to clean computer registry with PC Win Booster?
- Introduction
- Step 1: Download and install PC Win Booster
- Step 2: Run PC Win Booster and do your registry backup
- Step 3: Start scanning your registry with PC Win Booster
- Step 4: View the result
- Step 5: Schedule your computer's registry cleaning (optional)
- Step 6: Clean your computer registry
All the information about the computer and the software installed on it is saved in the Windows registry. It often happens that temporary Internet files, data in the recycle bin and many registry keys you don't need any more are still stored in your computer. Or when you are installing or removing software not all the programs are removed completly from the registry and this unnecessary data still remains in your PC. All these problems are easy to solve with the help of PC Win Booster.
Step 1: Download and install PC Win Booster
Click here to download it. After the download is finished, run the PCWinBooster.exe file and follow the installation wizard instructions.
Step 2: Run PC Win Booster and do your registry backup
Run the PC Win Booster executable using the desktop shortcut or the Programs section of the Start menu. Before fixing your system backup your registry. It will prevent your system and its registry from data loss and will let you return to the saved state whenever needed. To do that please refer to this guide.
Step 3: Start scanning your registry with PC Win Booster
After you successefully did the backup you can start cleaning your computer registry. Make sure that the Registry box in the Scan categories field is checked. You can also check the other boxes, if you want to clean the listed categories.
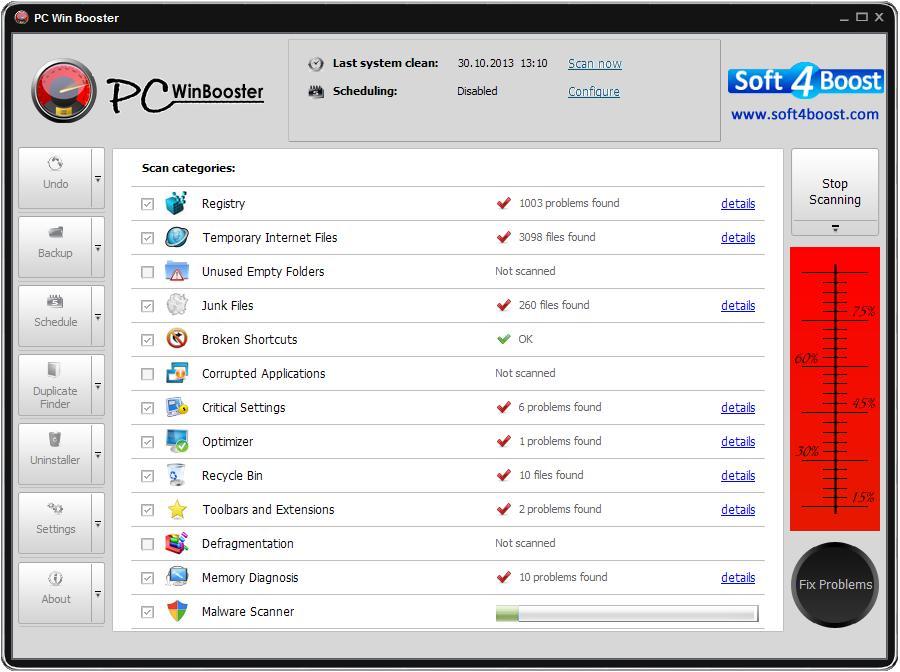
Press the Start Scanning button. The scanning process will take some time depending on your computer configuration. You can stop the scanning process whenever you want by pressing the Stop Scanning button.
Note: before pressing the Start Scanning button make sure that you have closed all the other running applications. If you haven't an information window will appear to remind you to do that.
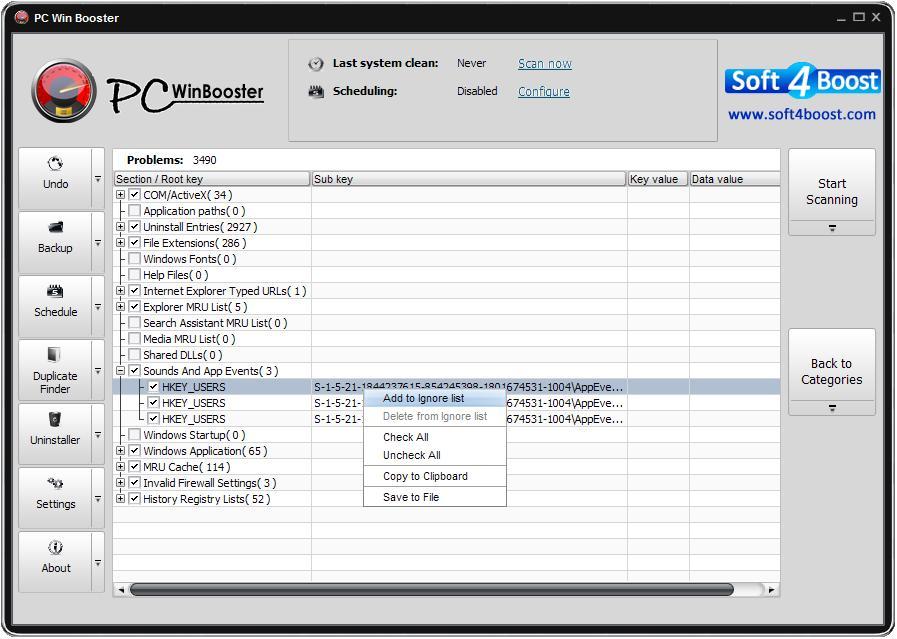
When the scanning is finished you can see the detailed result. To do that press the corresponding link.
A list with different categories will be opened. Each category shows in brackets the number of entries the program will fix. Press the plus sign to be able to see the entries. To come back to categories view click the Back to Categories button.
Step 5: Schedule your computer's registry cleaning (optional)
If you want the program clean your computer's registry on a regular basis you can schedule this function. Press the Schedule button on the top of the porgram window and a new window will appear.

Enable scheduling by checking the appropriate box on the top of the window and choose how often and at what time it will be started.
Step 6: Clean your computer registry
If you are ready to clean you computer registry just press the Fix Problems button and wait until it's finished.
Now you can be sure that you computer has been thoroughly cleaned and all the files and data you do not need have been removed.